

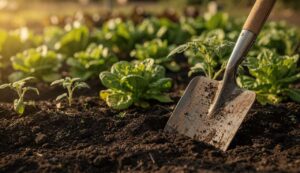
When the ground becomes frozen or waterlogged, planting bare-root trees and shrubs can prove challenging. Heeling in offers a practical solution, allowing gardeners to protect their new acquisitions temporarily until conditions improve. This traditional technique has safeguarded countless plants through harsh weather, ensuring they remain viable and healthy for spring planting.
Why use heeling in for your plantings ?
Protection against adverse weather conditions
Heeling in serves as a vital protective measure for bare-root plants when immediate planting proves impossible. During winter months, frozen soil prevents proper root establishment, whilst waterlogged ground can suffocate delicate root systems. This temporary storage method shields roots from desiccation, frost damage and temperature fluctuations that could otherwise prove fatal.
Preventing transplant shock and root damage
Bare-root plants arrive in a vulnerable state, with their root systems exposed to air and potential stress. Without proper care, these roots can dry out within hours, leading to severe transplant shock or complete plant failure. Heeling in maintains the crucial moisture balance that roots require, creating an environment similar to their eventual permanent location.
Key benefits of heeling in include :
- Maintains root moisture levels during storage periods
- Prevents frost damage to sensitive root tissues
- Extends the viable storage time for bare-root stock
- Reduces stress on plants awaiting permanent placement
- Allows flexibility in planting schedules regardless of weather
Understanding these protective benefits naturally leads to selecting an appropriate spot for this temporary storage technique.
Choosing the right location for heeling in
Outdoor location requirements
The ideal outdoor heeling-in site should offer partial to full shade, protecting plants from harsh sunlight and excessive temperature variations. A north-facing position works particularly well, as it remains consistently cool throughout the day. The location must provide adequate drainage whilst retaining sufficient moisture, striking a delicate balance between the two extremes.
Indoor alternatives for extreme conditions
When outdoor conditions prove too severe, indoor heeling in becomes necessary. Basements, garages or unheated sheds can serve this purpose effectively, provided they maintain temperatures just above freezing. These spaces should remain frost-free whilst avoiding warmth that might break plant dormancy prematurely.
Location characteristics comparison :
| Location type | Temperature range | Best for | Duration suitable |
|---|---|---|---|
| Outdoor shaded area | 0-10°C | Short-term storage | 2-4 weeks |
| Basement/garage | 2-8°C | Extended storage | 4-8 weeks |
| Unheated greenhouse | 5-12°C | Moderate climates | 2-6 weeks |
Once you’ve identified the perfect location, proper soil preparation becomes the next essential consideration.
Preparing the soil for effective heeling in
Excavating the trench properly
Dig a trench approximately 30 centimetres deep and wide enough to accommodate the root systems comfortably. The trench should run in a direction that allows plants to lean at the recommended angle. For outdoor trenches, ensure the base remains free from standing water, which could promote root rot.
Selecting appropriate covering materials
The choice of covering material significantly impacts the success of heeling in. Loose, friable soil works exceptionally well, as does well-aged compost or fine wood shavings. These materials must allow air circulation whilst maintaining consistent moisture levels around the roots.
Materials to use and avoid :
- Recommended: garden soil, compost, leaf mould, hardwood shavings
- Avoid: cedar shavings, redwood chips, rice hulls, fresh sawdust
- Avoid: heavy clay soil, sand alone, materials that compact easily
Creating optimal drainage conditions
Layer the trench base with a thin covering of coarse material if drainage concerns exist. This prevents water accumulation whilst allowing excess moisture to escape. The covering soil should remain loose and workable, never compacted, which would restrict oxygen flow to the roots.
With the site properly prepared, implementing the actual heeling-in process requires careful attention to technique.
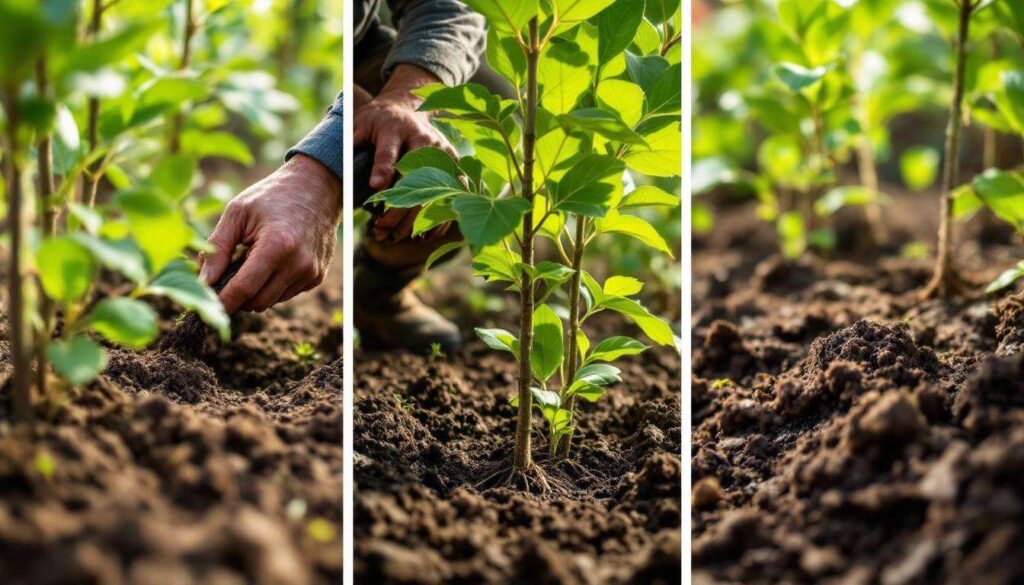
Steps to safely heel in
Step one: bundling and positioning plants
Group bare-root plants together in manageable bundles, typically three to five specimens depending on their size. Position these bundles in the prepared trench at a 45-degree angle, with roots pointing downward and crowns elevated. This angled placement provides stability against wind whilst facilitating proper coverage.
Step two: covering the root systems
Gently spread the covering material over the roots, working it between individual root strands to eliminate air pockets. The material should completely envelop all root tissue, extending slightly up the stem to ensure comprehensive protection. Avoid excessive pressure that might damage delicate root hairs.
Step three: securing and stabilising
Firm the covering material gently around the roots using your hands rather than tools. This creates good contact without compaction, ensuring roots remain surrounded by moisture-retentive material. For taller specimens, additional support stakes may prove necessary to prevent toppling.
Critical steps summary :
- Bundle plants in small, manageable groups
- Position at 45-degree angle for stability
- Cover roots completely, eliminating air pockets
- Firm material gently without compacting
- Add support stakes for tall or heavy specimens
Successful heeling in extends beyond the initial process, requiring ongoing attention to maintain plant health.
Caring for plants after heeling in
Monitoring moisture levels regularly
Check the covering material every few days to ensure it remains consistently moist but never waterlogged. Insert your finger several centimetres into the material; it should feel like a wrung-out sponge. During dry spells, light watering may prove necessary, whilst excessive rainfall might require improved drainage measures.
Watching for signs of dormancy break
Inspect plants weekly for bud swelling, leaf emergence or new growth. These indicators signal that dormancy has broken, requiring immediate permanent planting regardless of weather conditions. Delaying at this stage risks serious damage as the plant attempts to grow in temporary conditions.
Protection from wildlife and pests
Heeled-in plants can attract rodents seeking shelter or food. Wire mesh coverings deter these visitors whilst allowing air circulation. In areas with deer populations, additional fencing may prove necessary to prevent browsing damage to exposed branches.
Understanding how long plants can safely remain heeled in helps gardeners plan their planting schedules effectively.
Duration of conservation in heeling in
Typical storage timeframes
Most bare-root trees and shrubs tolerate heeling in for four to eight weeks under optimal conditions. This period provides sufficient flexibility for weather improvement whilst maintaining plant viability. Shorter durations prove preferable when possible, as permanent planting always offers superior conditions for establishment.
Factors affecting storage duration
Temperature stability, moisture consistency and plant species all influence how long heeling in remains effective. Deciduous species generally tolerate longer storage than evergreens, whilst fruit trees often prove more sensitive than ornamental varieties. Warmer temperatures accelerate dormancy break, shortening the viable storage period significantly.
Storage duration by plant type :
| Plant category | Maximum duration | Optimal temperature | Special considerations |
|---|---|---|---|
| Deciduous trees | 6-8 weeks | 2-5°C | Monitor bud development closely |
| Fruit trees | 4-6 weeks | 1-4°C | More sensitive to temperature |
| Shrubs | 4-6 weeks | 2-6°C | Smaller roots dry faster |
| Roses | 3-5 weeks | 2-5°C | Require consistent moisture |
Heeling in represents a time-tested method for protecting bare-root plants during unfavourable planting conditions. By selecting an appropriate location, preparing the soil correctly, following proper technique and maintaining vigilant aftercare, gardeners can successfully preserve their new acquisitions until permanent planting becomes possible. The practice offers invaluable flexibility in managing planting schedules whilst ensuring trees and shrubs arrive at their final positions in optimal health, ready to establish strong root systems and flourish for years to come.